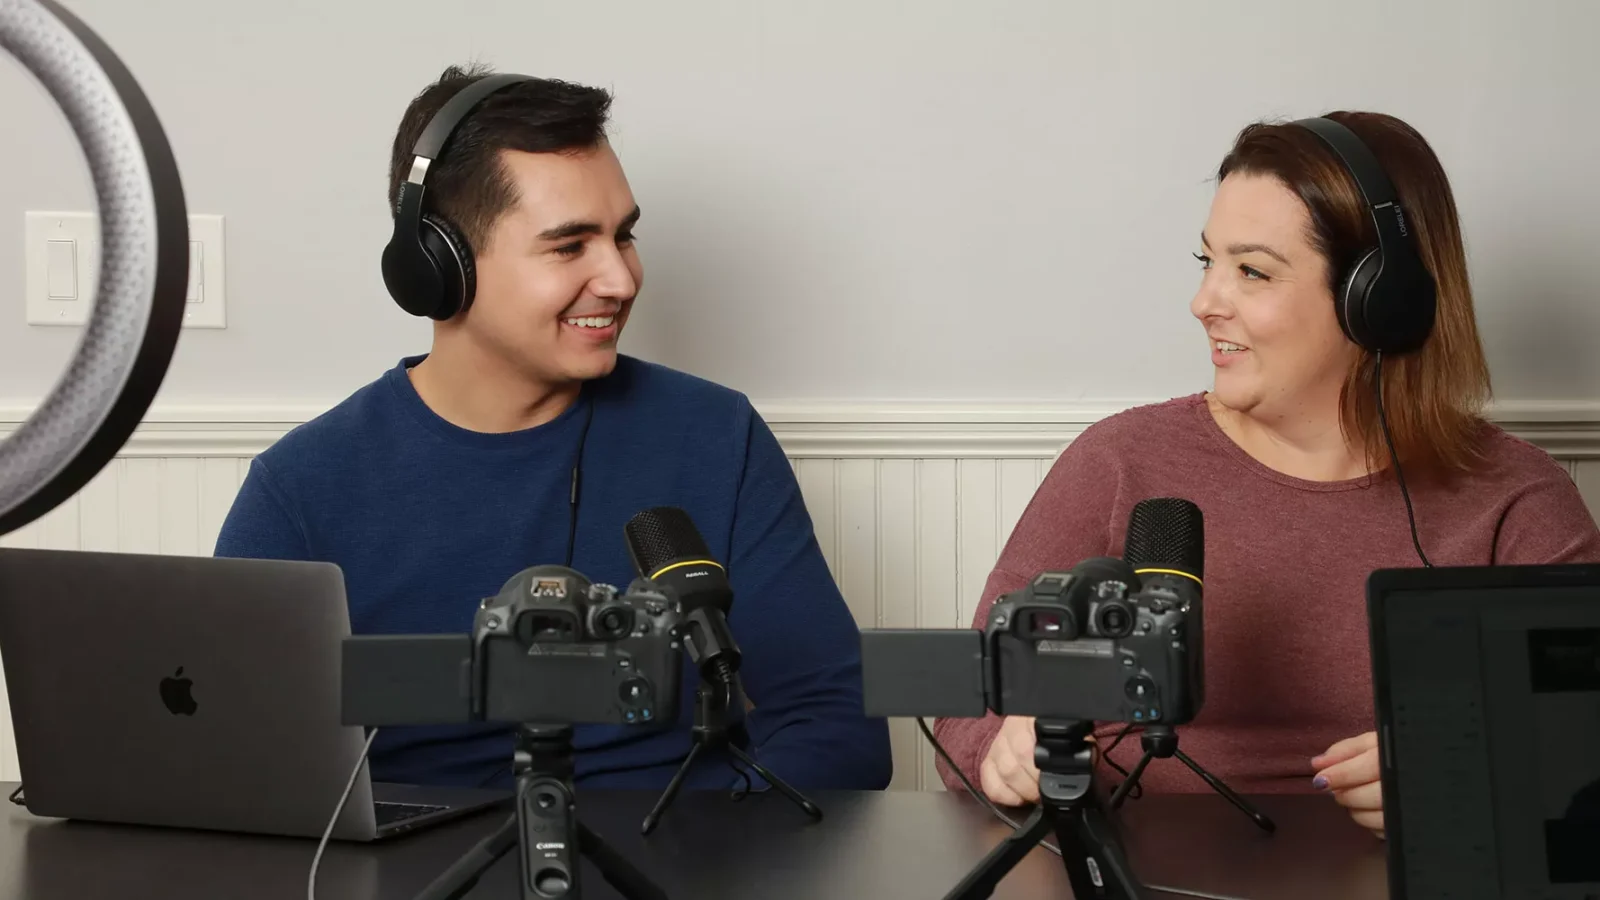
To use a webcam to record video, first connect the device to your computer and choose a recording software. Then, within the software, select the webcam as your source and hit the record button.
Recording videos with a webcam has never been easier, thanks to the proliferation of built-in cameras in laptops and the availability of external webcams. Whether you’re creating content for YouTube, holding a webinar, or simply capturing moments, knowing how to effectively utilize your webcam is essential.
With a straightforward setup, basic operational skills, and the right software, anyone can produce high-quality video content. This introduction serves as your quick-start guide to mastering webcam recording, ensuring you capture clear and engaging footage. Remember, the right lighting and positioning can make a significant difference in the quality of your final product, so take a moment to adjust these factors before you start recording.

Credit: www.amazon.com
Choosing The Right Webcam
Recording videos with a webcam can be fun and simple. But first, find the right webcam to match your video needs. Whether it’s for streaming, business meetings, or connecting with loved ones, key features make all the difference. Let’s explore what to look for in a webcam.
Essential Camera Specs
High definition (HD) is a must for clear videos. Look for 1080p resolution as a starting point. A high frame rate, at least 30 frames per second (fps), ensures smooth footage. Consider a webcam with automatic light correction for good quality in different lighting. Don’t overlook the field of view (FOV); a wider angle captures more.
- Resolution: Aim for 1080p or higher
- Frame Rate: 30 fps or greater is ideal
- Light Correction: Crucial for varied lighting
- Field of View: Wider angles, more in the frame
Webcam Brands And Models
Different brands offer unique features. Some popular ones include Logitech, Razer, and Microsoft. The Logitech C920 is a favorite for its crisp imagery. The Razer Kiyo shines with a built-in ring light. The Microsoft LifeCam series is great for office use. Check the table below for a quick comparison.
| Brand | Model | Resolution | Frame Rate | Special Feature |
|---|---|---|---|---|
| Logitech | C920 | 1080p | 30fps | Autofocus |
| Razer | Kiyo | 1080p | 30fps | Ring light |
| Microsoft | LifeCam | 720p | 30fps | LifeCam software |

Credit: www.amazon.com
Setting The Scene
Welcome to the ‘Setting the Scene’ section of our guide on recording video with a webcam. A well-set scene is crucial for creating a professional-looking video. Let’s dive into optimal lighting techniques and how to manage your background and environment.
Optimal Lighting Techniques
Good lighting can make a huge difference in video quality. Follow these simple tips:
- Use natural light by facing a window for a soft, flattering effect.
- Implement three-point lighting with a key light, fill light, and backlight for depth.
- Avoid harsh shadows by softening the light source with a diffuser.
Background And Environment
Choose a clutter-free space that won’t distract viewers. Keep these pointers in mind:
- Simple is better—a clean, organized background looks professional.
- Adjust the webcam angle to exclude any mess or personal items.
- Add a personal touch with plants or artwork—just keep it minimal.
Software Solutions
Software Solutions play a crucial role in leveraging your webcam’s potential for video recording. Whether you’re a professional videographer or an aspiring content creator, understanding the types of software available can elevate your video production quality significantly. Let’s explore the differences between native and third-party applications and the comprehensive features these platforms offer for recording and editing your videos.
Native Vs Third-party Software
Native software is built into your device. It offers basic recording functions. Third-party software, on the other hand, provides advanced features and flexibility. Explore both to see which fits your needs.
| Software Type | Pros | Cons |
|---|---|---|
| Native |
|
|
| Third-Party |
|
|
Recording And Editing Features
Select the right tools to craft professional-looking videos. Edit with precision and add effects to make your content stand out.
- Resolution settings: Customize the video quality.
- Frame rate control: Adjust for smoother playback.
- Sound capture: Ensure crisp audio.
- Filters and effects: Enhance visual appeal.
- Screen recording: Capture your desktop activity.
- Multi-camera angles: Switch perspectives.
Editing features are just as vital. Trim footage, adjust lighting, or add text with the right software. A robust editor turns raw footage into engaging stories. Play around with various tools and discover the limitless possibilities with best free video editing.
.png)
Credit: riverside.fm
Audio Matters
Think a webcam video is all about the picture? Think again. Great audio is crucial. It can make or break your video content. Below, learn how to amplify your message with sound that grabs and holds attention. You’re aiming for crisp, clear, and synchronised audio to match your high-quality video.
Selecting Microphones
First things first: Choose the right microphone. Don’t rely on your webcam’s built-in mic. It won’t cut it for professional-quality sound. Instead, invest in an external microphone. Trust us, it makes all the difference. Here are options to consider:
- USB Microphones: Easy to use. Just plug in and start recording.
- Condenser Microphones: Capture a wider range of frequencies. Perfect for detailed sound.
- Dynamic Microphones: Great for louder sources. They’re tough and handle a lot of sound.
- Lapel Microphones: Clip to your clothing. Offer consistent audio levels as you move.
Syncing Audio And Video
Got your audio recorded? Now, synchronise it with your video. This step is critical. If your audio lags or leads, it distracts viewers and looks unprofessional. To ensure perfect sync:
- Use editing software that supports multiple tracks.
- Record a visual and audio signal at the start. Clap once within view of the cam. This creates a spike in the audio track that’s easy to align with the video clap.
- Align these cues in your editing timeline. Drag the audio track so the spike lines up with the video clap.
- Play a section of the video. Make sure the audio matches the visual cues.
- If it’s off, nudge the audio track until you get a perfect match.
Remember, your audience might forgive a less-than-perfect video. Flawed audio? Not so much. Great sound equals a great experience. Invest time in selecting a good microphone and syncing your audio. Your video will shine because of it!
Recording Techniques
Perfecting your video starts with the right recording techniques. It’s about more than hitting ‘record’. Let’s explore how to make your videos stand out with proper framing and on-camera confidence.
Framing The Shot
Framing is key for a professional-looking video. You want the audience to focus on you, not distractions around you. Keep it simple and clutter-free.
Rule of Thirds: Imagine your screen is divided into nine equal segments by two vertical and two horizontal lines. Try to align yourself with these lines, particularly where they intersect. This technique captures a viewer’s attention.
Headroom: Leave a small space above your head. Too much space can look odd. Too little can feel cramped.
Eye Level: Place your webcam at eye level for a natural perspective. If it’s too high or low, adjust it. You want to “speak” directly to your viewers.
Confidence On Camera
Confidence shines through and engages your audience. Stand or sit up straight. A good posture radiates assurance.
- Look at the Lens: Keep your eyes on the webcam. It creates a strong connection with your viewers.
- Practice: Record a few test videos. Watch them. Learn from them. Each time you record, you’ll grow more confident.
- Smile: A warm smile is inviting. It makes viewers feel welcome and builds rapport.
Remember, confidence is key. Your audience will believe in your message when they see belief in yourself.
Post-production Touches
The magic truly begins after you record your video. Post-Production Touches elevate your content from raw to refined. Let’s dive into the essentials of editing and preparing your video for different platforms.
Editing Essentials
Revamp your raw footage with some editing magic. Begin by trimming any unwanted sections. Next, enhance your video’s visual appeal. Add transitions for smooth cuts between scenes. Incorporate text overlays and captions to emphasize key points. Don’t forget to adjust lighting and color for consistency. For audio, clean up the noise and ensure levels are balanced. Adding background music can create the right mood for your audience.
- Trim and cut to the best parts
- Correct color and exposure for visual impact
- Improve audio quality for clarity
- Use effects and transitions judiciously
Exporting For Various Platforms
Different platforms have specific requirements. For instance, YouTube prefers different settings than Instagram. Here’s a quick guide for exporting your videos:
| Platform | Resolution | Format | Aspect Ratio |
|---|---|---|---|
| YouTube | 1080p or 4K | MP4 (H.264 Codec) | 16:9 |
| 1080 x 1080 (Square) | MP4 | 1:1 or 4:5 (Feed) | |
| 720p | MP4 or MOV | 16:9 (Landscape) or 9:16 (Portrait) |
Before exporting, review your video on different devices. Check for any inconsistencies in audio or video quality. Once satisfied, export your video in the right format and resolution for your chosen platform.
Frequently Asked Questions On How To Use Webcam To Record Video
Can A Webcam Record Videos Without Software?
Yes, some webcams come with a built-in recording feature. These cameras can capture video directly through the hardware. However, for added functionality and control, recording software is often recommended.
What Is The Best Resolution For Recording Webcam Videos?
For most purposes, 1080p resolution is considered optimal for recording webcam videos. It provides clear, high-definition footage suitable for streams, video calls, and content creation.
How Do I Improve Webcam Recording Quality?
To improve recording quality, ensure good lighting, use a high-resolution webcam, and implement a clean background. It’s also helpful to adjust your webcam settings for exposure and color balance.
What Software Do I Need To Record With My Webcam?
Many operating systems include basic camera software that allows recording. For more advanced features, software like OBS Studio or Bandicam can be used for high-quality webcam recording.
Conclusion
Harness the power of your webcam and elevate your video recording ventures with ease. Keep experimenting with angles, lighting, and settings for optimal results. Embrace the simplicity and convenience webcams offer. Capture moments, create content, and connect globally. Start recording and share your story today.


Leave a Reply